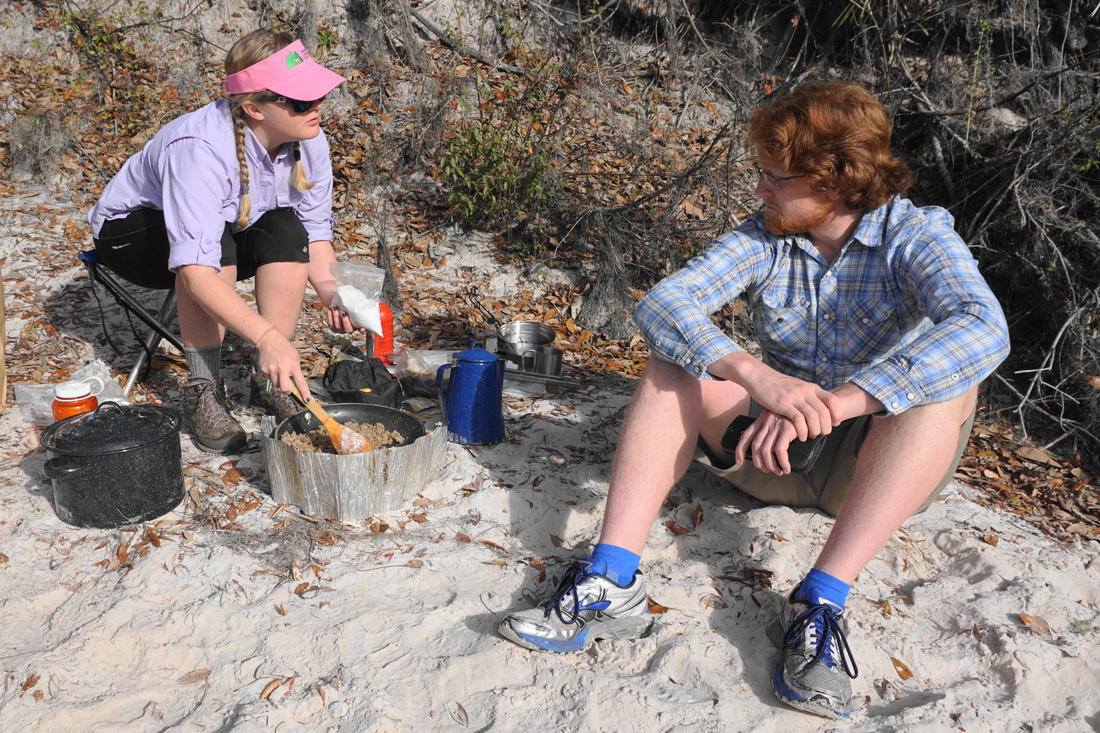
 I've found, through some anecdotal evidence, that a hearty breakfast is the fastest way to get sleepy friends out of their tents on a brisk morning. Especially when that morning is during the first cold backpacking trip of the season. It's cold, your body aches, and you are so cozy in your sleeping bag - why on earth would you want to get up for some mediocre instant oatmeal and pack up camp? Just fifteen more minutes... That is, until you smell the fresh sausage cooking. 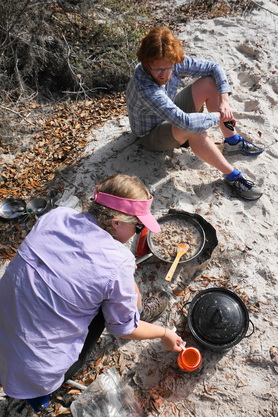 Teaching my brother how to make sausage gravy while backpacking on the Suwannee River (North Florida). Teaching my brother how to make sausage gravy while backpacking on the Suwannee River (North Florida). For short trips, or for the first morning on a longer trip, you can have fresh meat on a backpacking trip. We've discussed this before (see Bistec de Palomillo) and the same principle applies. You can take meat, uncooked, into the backcountry if you:
For our short trips (two-day) we will plan to bring meat for the first dinner if it is a long first day and the first breakfast, to encourage people to wake up cheerfully. For fresh biscuits and gravy, we bring store-bought biscuits from the bakery or make our own the day before the trip. We bring one small log of publix lean breakfast sausage (any brand or tube will do) and freeze it solid in the coldest part of our freezer for at least a week to ensure it is absolutely frozen to the core. When you get on the trail, keep the sausage double zip-top bagged in an insulated soft-cooler. In our part of the world, Central Florida, it will still be slightly frozen by breakfast time! Note: You do not want the meat to warm up prior to cooking. It should still be slightly frozen when you start to cook it. Or in other words, enough of the meat needs to still be frozen enough to keep the meat's temperature out of the "danger zone". Backpacking Biscuits and GravyFeeds six, I recommend trying this prior to getting on the trail and adjust the recipe accordingly to your group so as to avoid bringing too much food. Ingredients:
Directions:
 Did you enjoy this recipe? Please consider leaving a comment or sharing the image above on Pinterest or your social media of choice to spread the word. Thank you! Please note: We are not trained chefs or medical professionals. We are not responsible for any illness or other unfortunate event that may occur if you choose to make this meal on a backpacking, or other camping, trip. We have made this meal several times with no ill effect and are sharing our recipe to enrich others' experiences. If you have any questions or comments, please leave them below. My blog post, comments, and responses are never intended as medical advice.
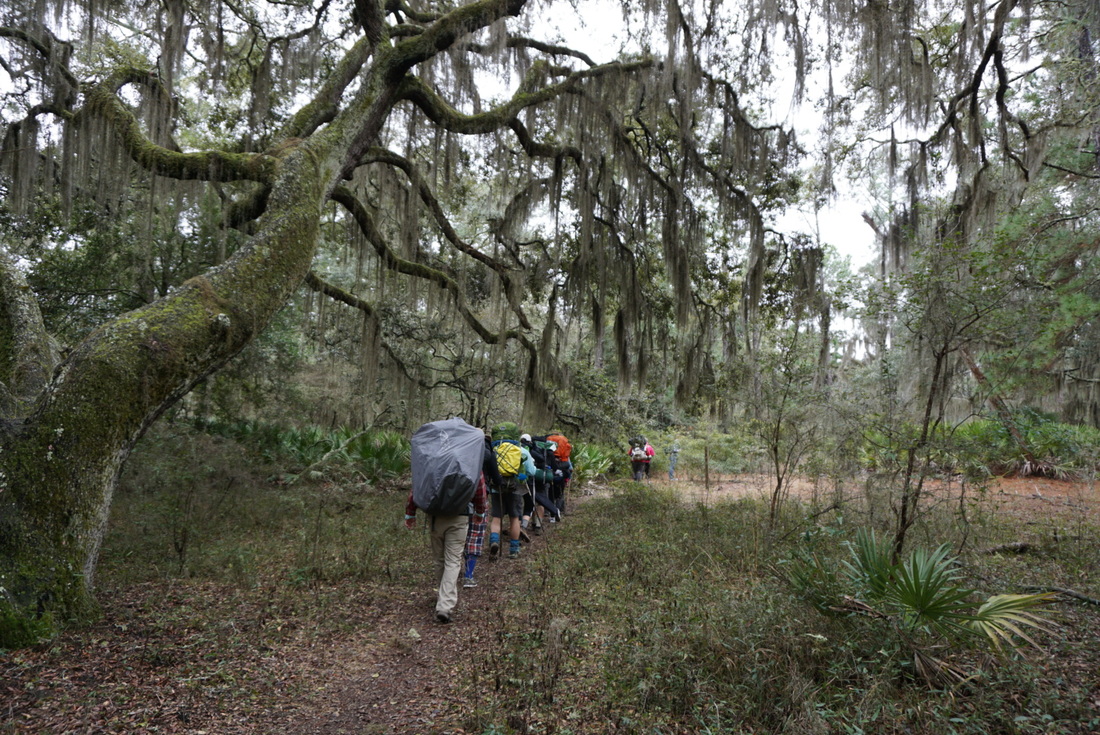
If you're an outdoorsy type of person and live in Florida or Georgia, there's a good chance you've heard of Cumberland Island National Seashore. One of the largest undeveloped barrier islands on the Atlantic Coast, Cumberland Island is an oak covered paradise only 45 minutes off the coast of Georgia via ferry. We've been trying to get to Cumberland Island for probably ten years now? I'm not sure. I had been dreaming of visiting ever since our high school biology teacher assigned a project on coastal ecosystems. I finally got around to editing the photos I took during our trip (in November, yikes!) and let me assure you, it lives up to all of the daydreaming. 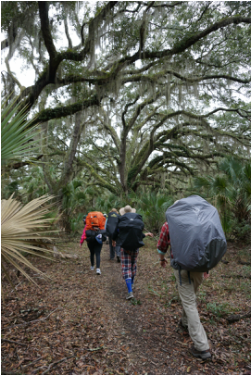 The island is covered in wind-worn oaks, spacious pine stands, salt marshes, and coastal scrub ecosystems. The island's 50-miles of trails are well maintained and campsites are intimate with vegetation cover and primitive benches. You aren't allowed to have campfires in the wilderness camp sites so if your camping experience requires s'mores, stay at the Sea Camp or Stafford Beach campgrounds. You can learn more about the camping arrangements at this website. NOTE: All camping requires a permit and some campsites are first-come first serve. There is non-potable water available in the wilderness area from a sulfur well; so, make sure you bring some Gatorade if you are sensitive to the flavor. We stayed at the Hickory Hill wilderness campsite and had plenty of room for three large tents (4 person) and three small tents (2 person). Hickory Hill is a nice and easy 5.5 mile hike from the ferry drop off so you'll have time to explore once arriving at camp. It rained for most of our trip, but like all Florida hikers we relished in the cooler temperatures and misty ambiance. I'll take drizzly and cool over hot and muggy ANY DAY. The cold weather inspired one of the best backpacking meals of my life thus far ... fresh from scratch Fettuccine Carbonara with peas and bacon. To die for. Recipe post coming soon! If you get the chance, I highly recommend a weekend at Cumberland Island National Seashore. As the second National Park System trip I've done where you must take a ferry, I can personally recommend this style of camping for a relaxing and more secluded wilderness experience close to civilization. Have fun and get outdoors!
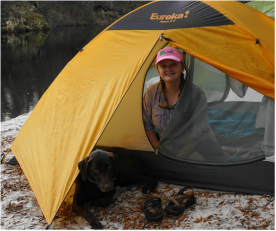
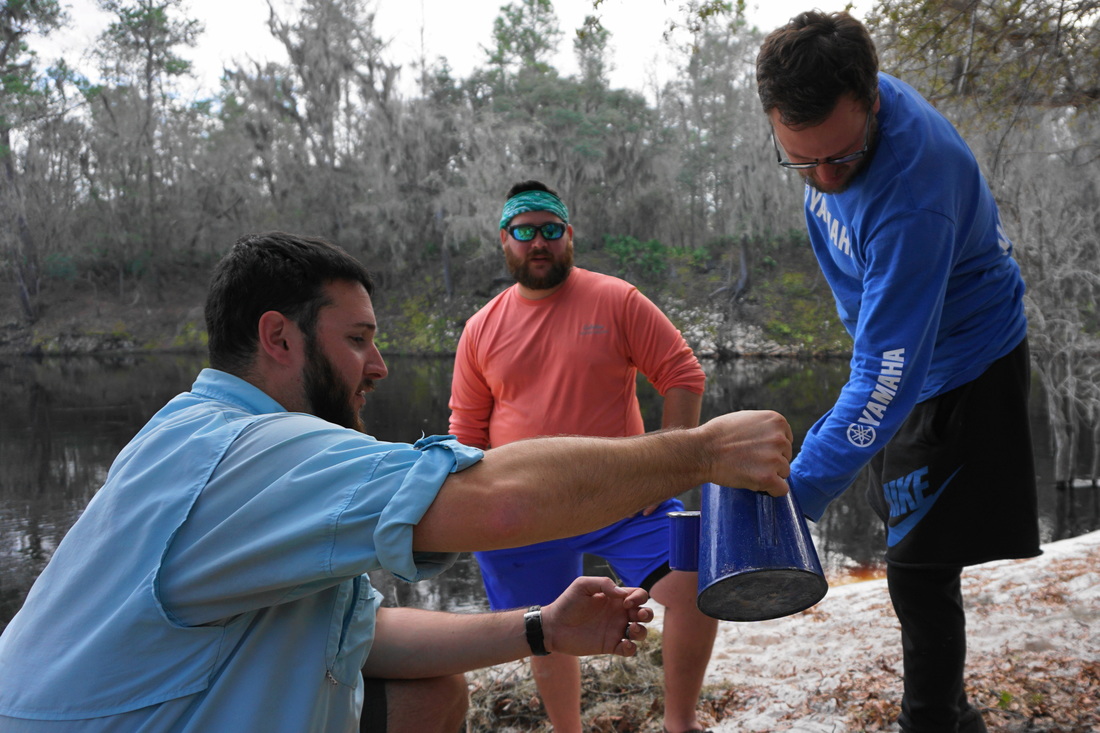
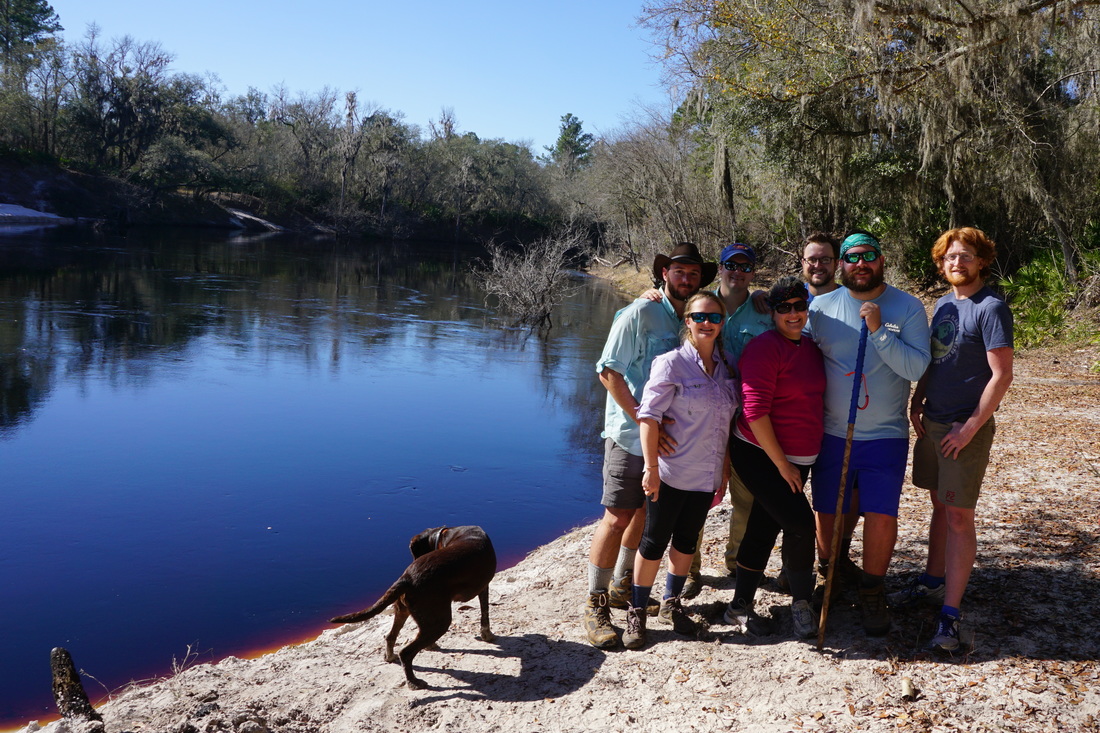
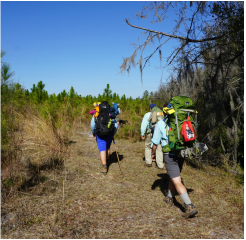 Backpacking along the Suwanee River, 2015 Backpacking along the Suwanee River, 2015
Close your eyes. Imagine your stereotypical backpacking trip. You've hiked all day. If you're in Florida during the summer, you're bug bitten and hot in the face. You're probably near water and you're probably tired. Meal time. What's for dinner?
If a dehydrated, one-pot meal came to mind, you've probably done this before. Now, what if I told you that we can change that? Imagine instead, same scenario, you come into camp eagerly anticipating from-scratch linguine alfredo carbonara and cocktail hour with sliced salami and location-themed cocktails. All of a sudden, eating dinner goes from a chore to an activity among friends. 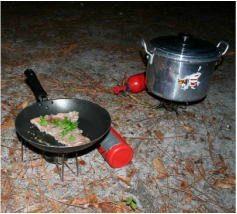 Cooking one of our first Bistec de Palomilla steaks in 2005 Cooking one of our first Bistec de Palomilla steaks in 2005
We gave up the dehydrated style of backpacking in 2005. I took a backpacking class during my time at UF mostly for kicks but also because I needed a one-credit class to round out my semester enrollment. Every student had to plan a two-night backpacking trek for at least three friends. Additionally, there were three percentage points of extra-credit on the table for the backpacking trip which planned and executed the best menu. Challenge accepted!
By this time, I had been on more backpacking trips than I could count and hiked Philmont Scout Ranch twice (100+ mile treks). Feeling that we should take things up a notch to keep it interesting, we decided to remake one of our favorite meals - Bistec de Palomilla with yellow rice. The recipe, a great first foray into fresh food while backpacking, is at the end of this article.
To make real food while camping, there are a few things you need to do and know.
Carnevale's Backcountry Bistec de Palomilla
Ingredients: (serves four)
Recipe:
When you get to camp, fire up your camp stove or a campfire to cook your rice and then, 'cook' the steaks. Remember, the meat is cooked already, all you have to do is heat it up! You'll want to cook each steak for a few minutes over high heat; until it is texturally like a steak cooked to medium. Try not to overcook it, err on the side of medium-rare as opposed to medium-well; these acid-soaked thin sirloins will turn to shoe leather if over-done! When the steaks are done, remove them and throw your probably thawed yellow rice in the pan with the steak juices. Heat until warm throughout and dish out to your hungry campers!
Keeping the meat safe, while un-refrigerated, is a top priority but always a gamble. This recipe keeps the meat as cold as possible for as long as possible and as a contingency plan, soaks the meat in a high-acid environment. This high-acid environment essentially "cooks" the meat while providing inhospitable conditions for food-borne pathogens; the same process which is at work in any ceviche dish.
Please note: We are not trained chefs or medical professionals. We are not responsible for any illness or other unfortunate event that may occur if you choose to make this meal on a backpacking, or other camping, trip. We have made this meal several times with no ill effect and are sharing our recipe to enrich others' experiences. If you have any questions or comments, please leave them below. My blog post, comments, and responses are never intended as medical advice.
Our MSR Dragonfly stove was purchased over ten years ago with no compensation for my opinion. However, in the interest of full disclosure, I may earn a small commission if you purchase items through the link provided here. There is no increase in cost, to you or anyone else, associated with these links.
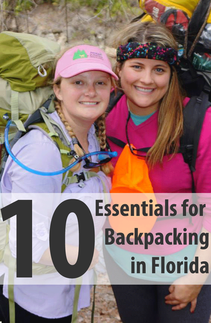
Gear Round Up! Are you thinking about new gear? Interested in investing in your own backpacking gear after years of borrowing others' gear? Below, I've listed my 10 Essentials for Backpacking in Florida. If you have any questions about the following gear, let me know. I personally own and love every product listed here.
Smartwool PhD Run Light Women's Socks There isn't much to say about these socks. I love them, You don't need heavy wool socks in Florida, you just don't. These wick sweat well, I don't need sock liners (gosh, remember those?!), and they don't stretch out. I wear these with boots and running shoes because they are a great multitasker. They work really well with my Merrell boots. 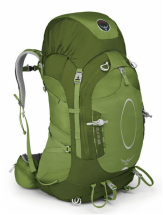 Osprey Aura 65 Backpack Osprey Aura 65 Backpack
Osprey Aura 65 Backpack
If I didn't seriously love this pack, it wouldn't be on this list. Really. Everyone has a pack or borrows one, they don't need to be told what pack to love in a typical gear round up. I made an exception for this pack because it is the best I've ever owned and I've heard a lot of women say this. Particularly women with a petite frame. It's really difficult to find a comfortable pack for a petite woman's frame that isn't a youth pack. Youth packs work ... enough. This is an awesome pack for a petite outdoor woman! I love the flexible packing options, the super comfortable and adjustable hipbelt, the air-flow technology on my back, and the collapsible nature of this 65 Litre pack. Big enough for several days on the trail without food drops and yet, can collapse small enough to be useful on a one-night backpacking trip.
Neutrogena Ultra Sheer Liquid Sunscreen Is it odd to have this on the list? Not in Florida! All the sunscreen! This is my go-to sunscreen. This sunscreen is not greasy, has fantastic coverage, and can be worn alone or under makeup. Additionally, I have issues with sunscreen on my face because apparently I have sensitive skin. This sunscreen doesn't burn my face or leave it tender. As far as sunscreen goes, it is kind of pricey at $10-15 a bottle but coverage is great with a small amount of product. I go through approximately two bottles a year and I wear sunscreen at least four days a week. That said, my husband uses it a bit more aggressively and goes through them quicker. 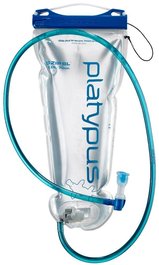 Platypus Big Zip SL Hands-Free Hydration System Platypus Big Zip SL Hands-Free Hydration System
Platypus Big Zip SL, 3-Litre
I love this hydration pack for a few very particular reasons. First of all, it works. Plain and simple! It works well with little fussing. The zip-top may scare some but I have no complaints. In fact, I love the zip top for it's wide opening and ease of use. My previous bladder (the other 'big' brand) had an awful 'ergonomic' opening that was near impossible to open by me, my husband, and several other adults who would inevitably need to help me fill the bladder before hiking out. No one wants to be that person. Another reason I love this hydration bladder is the quick-release on the hose. The quick release is just one more small feature that makes using this bladder so easy. No more hose dragging in the dirt while I try to balance the filtered water and my bladder! Yay! In case you need another reason to try this bladder, there is an extra piece of plastic in the middle of the bladder holding the front and back together at a certain distance. This prevents the bladder from spreading into a full cylinder when filling and instead, keeps it in a shape that built-in bladder pockets are designed to hold. Again, a very small feature that makes this bladder very easy to use.  Black Diamond: Apollo Lantern Black Diamond: Apollo Lantern
Black Diamond: Apollo Lantern
I literally cannot count how many lanterns I have owned for car camping and backpacking. Everytime someone would ask if I would recommend one, I'd always get stuck on, "Well, I like this one but...". That is, until we discovered the Black Diamond Apollo Lantern. This little lantern has several features that put it at the top of my list.
Columbia Saturday Shorts I reviewed these in my post, New Backpacking Gear, Purchased for Philmont, so I'll keep it short here. I love these shorts. They dry quick, stay 'in place' when hiking, resist dirt and smell, and simpley put: fit well. They fit true-to-size in my opinion and I have multiple pairs. Columbia has once again hit it out of the park.  Platypus GravityWorks 4.0L Filter System Platypus GravityWorks 4.0L Filter System
Platypus GravityWorks 4.0L Filter System
Last fall I was in the market for a new water filter for some upcoming canoe and backpacking trips with groups of up to nine people. After talking with some friends who have bought filters in the past few years, the answer was clear. For a group of people, the gravity-fed Platypus filter would fit my needs best. The system features very clearly marked 'clean' and 'dirty' water bladders. After filling the dirty bladder, one simply hangs it in a tree or something above the ground and walks away. After a few minutes (depends on turbidity of the water), you have fresh, clean, potable water. If you are hiking in an area known for chemicals, toxins, or viruses you'll need to look for something else but this filter is effective against "Bacteria and Protozoa, including Giardia, Cryptosporidium, E. coli, Salmonella and Cholera" according to the instructions.
Petzl Tikkina 2 Headlamp Update: Petzl Tikkina 2 no longer available, see newer model: $19.95 As far as headlamps go, this one is pretty basic but I find it very reliable. I was so sick of headlamps that had cheap battery cases, loose bands, loose tilt features, etc. I just wanted a good lamp with reliable features and I didn't want to spend $100 to get it. This Petzl, while basic, fits the bill and comes in at only $23. That's all there is to it. It's a well-made and reliable piece of necessary equipment. This lamp has a highbeam, lowbeam, and flashing beam, all in white LED light. There is a more expensive model that features a red light; I occasionally wish I purchased that version. 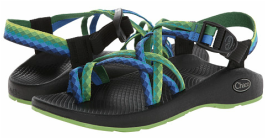 Chaco ZX/2 Yampa Sandals Chaco ZX/2 Yampa Sandals
Chaco ZX/2 Yampa Sandals
I love Chacos. I purchased my first pair in 2005 and having run those into the ground, I finally replaced them in 2014. They are pricey at $100 on average but they will literally last five years or longer; mine lasted about seven years before they really started to fall apart. I've owned the single strap and the double strap. Why did I include sandals on a list for backpacking? Because I am a firm believer that you should bring camp shoes which allow your feet breathe and provide arch support. These sandals are great for side hikes and as camp shoes. I never go camping without them and occasionally, they are the only pair of shoes I bring. I'm never afraid I'll loose my footing in these sandals. Some people ask if the toe-strap is bothersome but I love it. I do not like feeling like my foot is going to slip forward when standing on a slippery rock or in moving-water. Pro-Tip: Search Amazon for chacos and buy last year's colors at a discount. I purchased my husband's pair for $65. 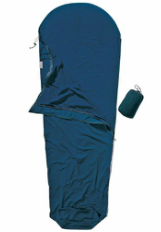 Cocoon Silk MummyLiner Cocoon Silk MummyLiner
Cocoon Silk MummyLiner
You'll notice I didn't include a sleeping bag or pad on this list. These are optional 90% of the year in Florida! It's not cold enough to require them and you can often find sugar sand to camp on for comfort and keeping with Leave No Trace. Additionally, I'm in the market for a new sleeping bag and wouldn't feel comfortable recommending my old bag as it is no longer sold and it isn't my perfect bag. I'm still looking for that. So, if I don't think you need a sleeping bag what do you need? A Silk mummybag liner. This is an ideal substitute for a sleeping bag when the weather is above 70F at night, which it is! Most of the year! In most of the state! I highly recommend this piece of gear, which is usually considered optional. Really. This is a must-have in the hot and humid Florida environment. It saves weight and space, is machine washable, and feels so soft against your skin. I have the white one but I would recommend another color that doesn't show dirt and wear so easily.
All of these items were purchased online at various retailers, with no compensation for my review.
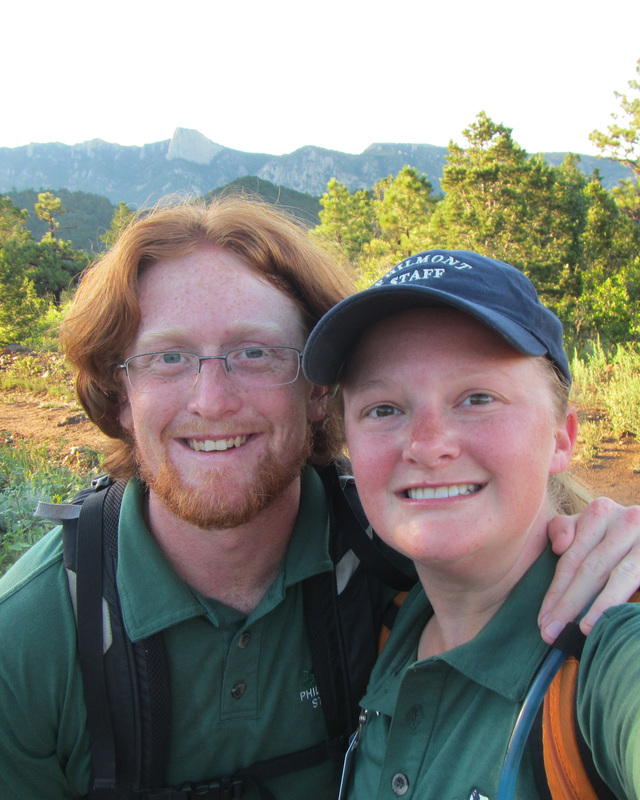
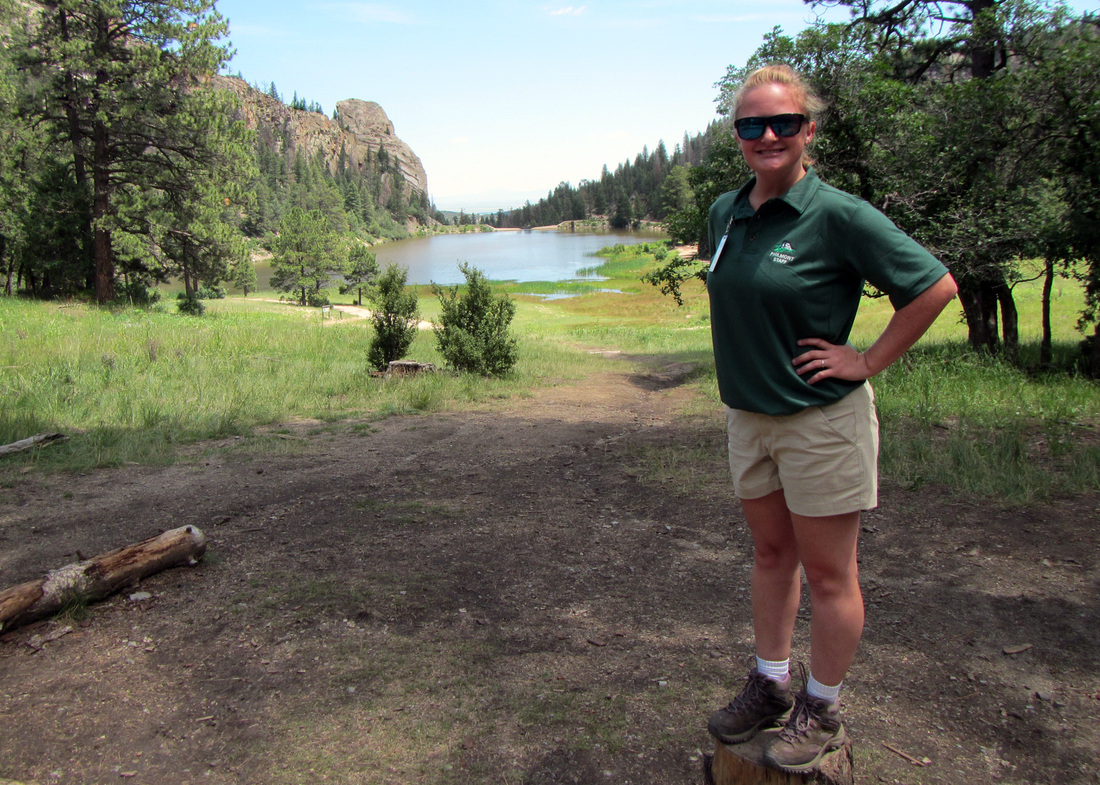
However, in the interest of full disclosure, I may earn a small commission if you purchase items through the links provided here. There is no increase in cost, to you or anyone else, associated with these links. 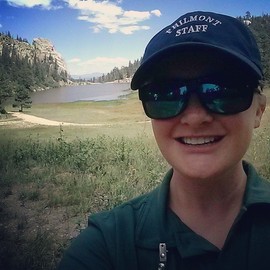 I've just returned from my trip to Philmont Scout Ranch as a Visiting Forester and the experience was fantastic. I am so glad I decided to go back to a place I love and teach the scouts about fire ecology, forestry, and the complexity of forest ecosystems. Located in northeast New Mexico, Philmont is a magical place for scouts to experience near-wilderness and learn the true meaning of "team" as they embark on twelve day backpacking treks of 50 miles or more. The Scouts must carry all their food (four days worth at a time) and supplies, including water and shelter. In addition, theymust work together to set up camp, ensure bear safety procedures are followed, cook meals, and navigate. While there are two or more adult leaders present, they are strongly encouraged to let the scouts do all the work, make mistakes, and work through the mistakes to ensure the crew arrives at each camp safely. Philmont is a life-changing experience that I was lucky enough to take part in twice as a scout; in 2004 and 2006.  I was one of many Visiting Foresters this summer and taught approximately 800 scouts and advisers about the forested ecosystem they were hiking through, a ponderosa pine/mixed conifer forest. The main forest issue we discussed was the overly-dense forest conditions due to the loss of its natural fire rotation. The exclusion of fire from this fire-dependent ecosystem was mainly due to agricultural needs (grazing livestock) of the late 1800's and fire suppression of the early to mid 1900's.
I recommend this opportunity to any practicing forester who is interested in giving back to the youth, the land, and/or the scouts. You'll teach scouts, advisers, Philmont staff, and more while staying in the back country for a week. You might even help a youth or college student learn about the great industry of natural resources management or in my case, the cooperative Extension service.
Additionally, if you are a company, consultant, or other forest-product industry professional interested in helping Philmont thin, please feel free to contact me and I'll help get you in contact with the forest managers out there. Interested in the details of this program including our education topics and conservation efforts? Click "Read More" in the bottom right-hand corner. I'm preparing for my week at Philmont Scout Ranch this week and having been out of the backcountry for at least a year, realized I needed a lot of new gear. I'm not hiking a trek like most visiting Philmont this summer, but I will be at in the backcountry for seven nights. 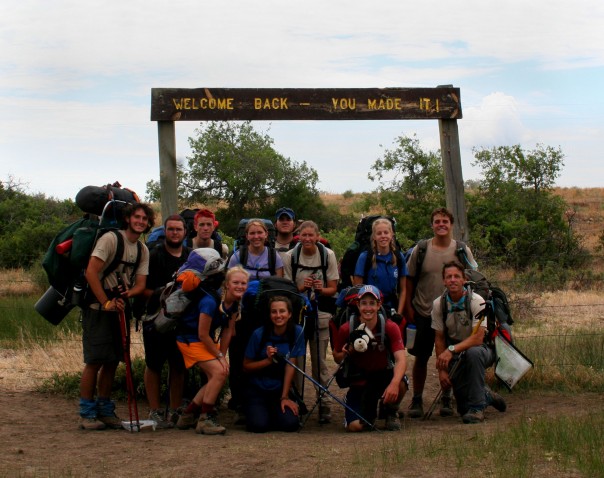 Group photo on my last day on the trail, 2006. Group photo on my last day on the trail, 2006. I haven't packed into mountain terrain in almost six years and completely forgot how quickly the temperatures will drop when the sun drops below the mountains.
Thankfully, a colleague volunteered with the same program a few weeks ago and reminded me how used to the warm weather we are in Florida. Let's just say, I am not prepared for the 40F nights I'll see in New Mexico. Items that needed replacing included:
When I return from the trip, I'll review the products purchased as well as summarize the trip and what I learned from it. I am beyond thrilled to return to Philmont Scout Ranch. The fact that I can go back to one of the most beautiful places I've ever visited and teach? I cannot express in words how thankful I am. |
The
|


 RSS Feed
